Everything You Need to Know About Stone Backsplashes
- Kelsey McGregor
- Jan 27, 2023
- 5 min read
Updated: Jan 31, 2023
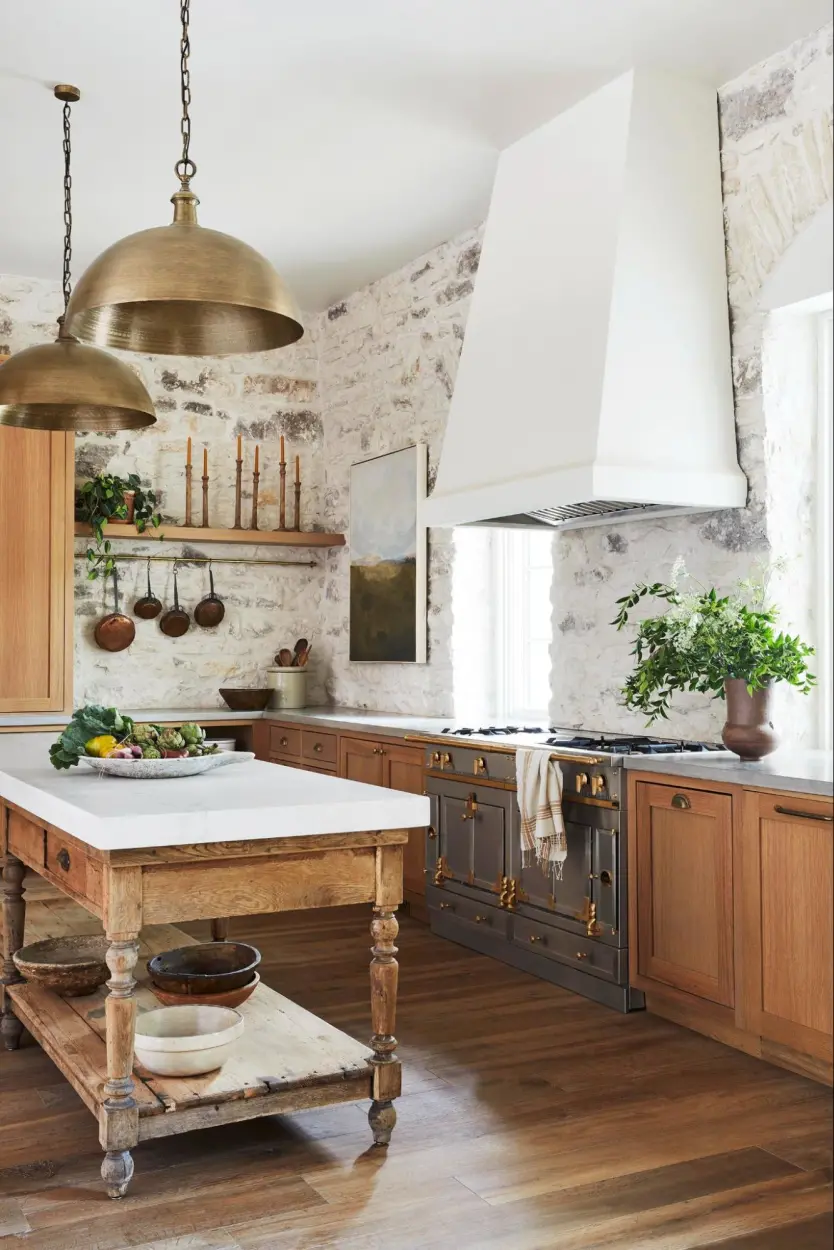
There are few things as eye-catching as a stone backsplash in a beautifully designed kitchen. They’re timeless, subtle yet bold, and the perfect look for a vintage modern kitchen. In one of our latest builds, Project Sunset Sail in Edmond, Oklahoma, we installed a stone backsplash and couldn’t be happier with the way it turned out. Since you all loved it too, we wanted to give you some insight before you install your own stone backsplash in your kitchen. This blog post is long overdue, and we’re so glad you are finally here to read it!

Photography: Kacey Gilpin Photography
Are Stone Backsplashes Outdated?
Absolutely not! In fact, with the recent resurgence of cottagecore aesthetic, we've seen a steady increase in the demand for stone backsplashes in kitchens and lining fireplaces!
Benefits of Installing a Stone Backsplash
Beyond its aesthetic appeal, a stone backsplash has many functional benefits!
Stone will last a lifetime! That means less upkeep and no need to replace your backsplash down the road.
Stone is also a great insulator! Naturally, your gas bill should be less as this material will keep the warm in and cold out during the winter months.
There's no need to worry about chipping! Natural stones you would use are incredibly hard and scratch-resistant. Though, good news is, if something were to happen, you're likely not to notice since stone already has an organic, worn look.
And as bonus, since they are non-porous, they are less likely to hold bacteria or viruses. That's a big win for those of us with a household full of children!
Stone Backsplash Inspiration
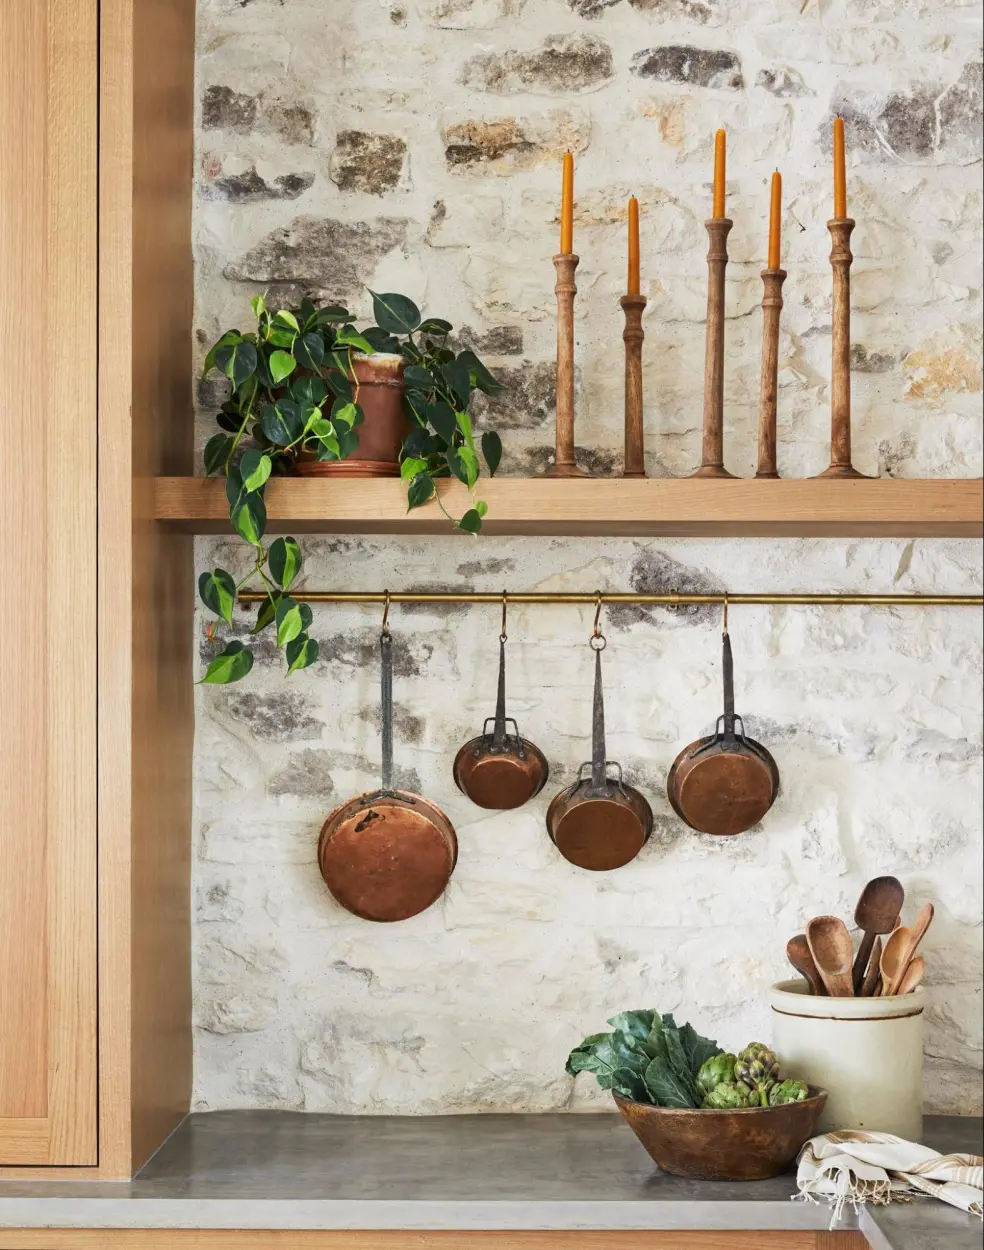
While we went for organic rectangular-shaped stones in varying sizes in our Sunset Sail project for a less uniform look, there are a variety of mortar and stone styles we've been eyeing lately.

Designer: Cara Loren
Designer: Joanna Gaines
Over-Grouted Stone Backsplash
Over-grouted stone is the epitome of cozy cottage backsplash design! It instantly gives an organic, lived-in feel that is at the epicenter of our KLD designs. When installing, your stone mason will need to bring the grout over the tops of the stone to achieve this look. Just be sure to leave enough of the stone showing!
Play with adding modern plumbing and cabinetry for a unique juxtaposition or fall in line with this Old World style by pairing vintage-inspired cookware and appliances.

Designer: House of Jade Interiors | Photo: Lindsay Salazar
Designer: Alice Lane Interior Design | Photography: Lindsay Salazar
Stone on Full View
The above inspo is most like the stonework you've likely seen on home exteriors and would still fall under the over-grouted or over-mortared grouping. What's unique about this style is the grouting stays at the edges of the stone. This allows the stones to be fully visible and gives your wall a more defined texture. Use a variety of stone colors to achieve the look above or select one hue like we did for our Sunset Sail kitchen in buff.
Stone Alternatives
Designer: James May Home
Brick Backsplash
Love the idea of a stone backsplash, but wanting a more traditional design? Using a classic brick shape is a great way to get this look without going full-on cottagecore. We love using a variation of hues in your brick color or even over-mortaring the shape like above.

Designer: Amber Interiors | Photography: Jess Isaac
Zillege Tile Backsplash
Would you believe this backsplash is Zillege tile?! I know! It's unreal how organic it looks. This hand-chiseled tile is a great alternative to stone with a similar texture.
What to Consider When Making Your Stone Selection
Stone Thickness
You will want a THIN stone specifically – approximately 1.5 - 2 in. thick. This is very important as a thinner stone will have less weight on your wall and you'll want to account for this depth when installing your cabinetry, outlets, etc.
Where to Buy Stone
You can purchase your stone from a local stone supplier. Your interior designer or contractor should have a recommendation for you.
Shop stones like this or this from Home Depot. And, we haven't tried this yet, but this product from Floor & Decor looks interesting!

Photography: Kacey Gilpin Photography
What to Know Before You Get Started
Once you've settled on a stone backsplash style selection, it's time to get to work!
Consider Depth of the Stone
First, assess the installation space. How much depth from the wall do you have? Format the plans to account for 2-3 inches of stone. That means you'll want to factor those inches into your placement of cabinetry, range hood, outlets, appliances, and sconces if necessary.
We have learned a lot from the installation process and have many tips to share: be sure there will be plenty of space for your faucet if stone overlaps the sink bed. Similarly, account for the depth of your appliances – they need to be able to slide in with out access petruding from the cabinetry. Lastly, go ahead and double the wood frame for any cabinetry that will be against the wall. You can thank me later!
Consider Placement of All the Things
Beyond the kitchen details you'll be working around (cabinets, appliances, countertops), you'll need to specify placement for anything that may need a hole in the backsplash, like electrical outlets and sconces.
Order Early
This particular material needs to be special ordered. Our stone supplier quoted three weeks minimum for delivery, so plan ahead!
Buy Extra Stones
Buy more stones than you need! There's bound to be mishaps in shipping, so it will be better to add a few extra pieces to your order than having to pause your project for a second delivery or store run. We recommend accounting 20% as waste, just to be safe.
Hire an Excellent Stone Mason
I cannot stress this enough! Get an excellent stone mason, preferably who has installed a stone splash before. Not only will the installation go quick and smooth with an experienced pro, but they'll be prepared to answer questions like, Can stone be applied to this drywall? (The answer is it depends.)
You'll also want to make sure you're working with a mason who is interested in working indoors. They will need to be far more careful in the installation process than when handling exteriors.
How to Clean a Stone Backsplash
While stone is very easy to maintain, it will still require regular cleaning.
Just like your countertops, you will want to seal your stone backsplash following completion. This will help protect the wall from grease, food, etc. Sealer should be applied to stone backsplashes at least once a year to protect the stone from damage.
Clean your grout lines with a stone-safe cleaner, like this, and a soft bristled brush or non-abrasive scrub pad. Paper towels or rags are likely to snag or rip when ran against your stones.
For tough or greasy stains, use a soft scouring pad on spots, and reapply sealant after cleaning.
Phew! That was a beast!!! But I wanted you to have ALL the info before jumping into your stone backsplash project. Questions? Comments? Drop them below! And don't forget to share your stone backsplash projects with us! We'd love to see!


